


Description
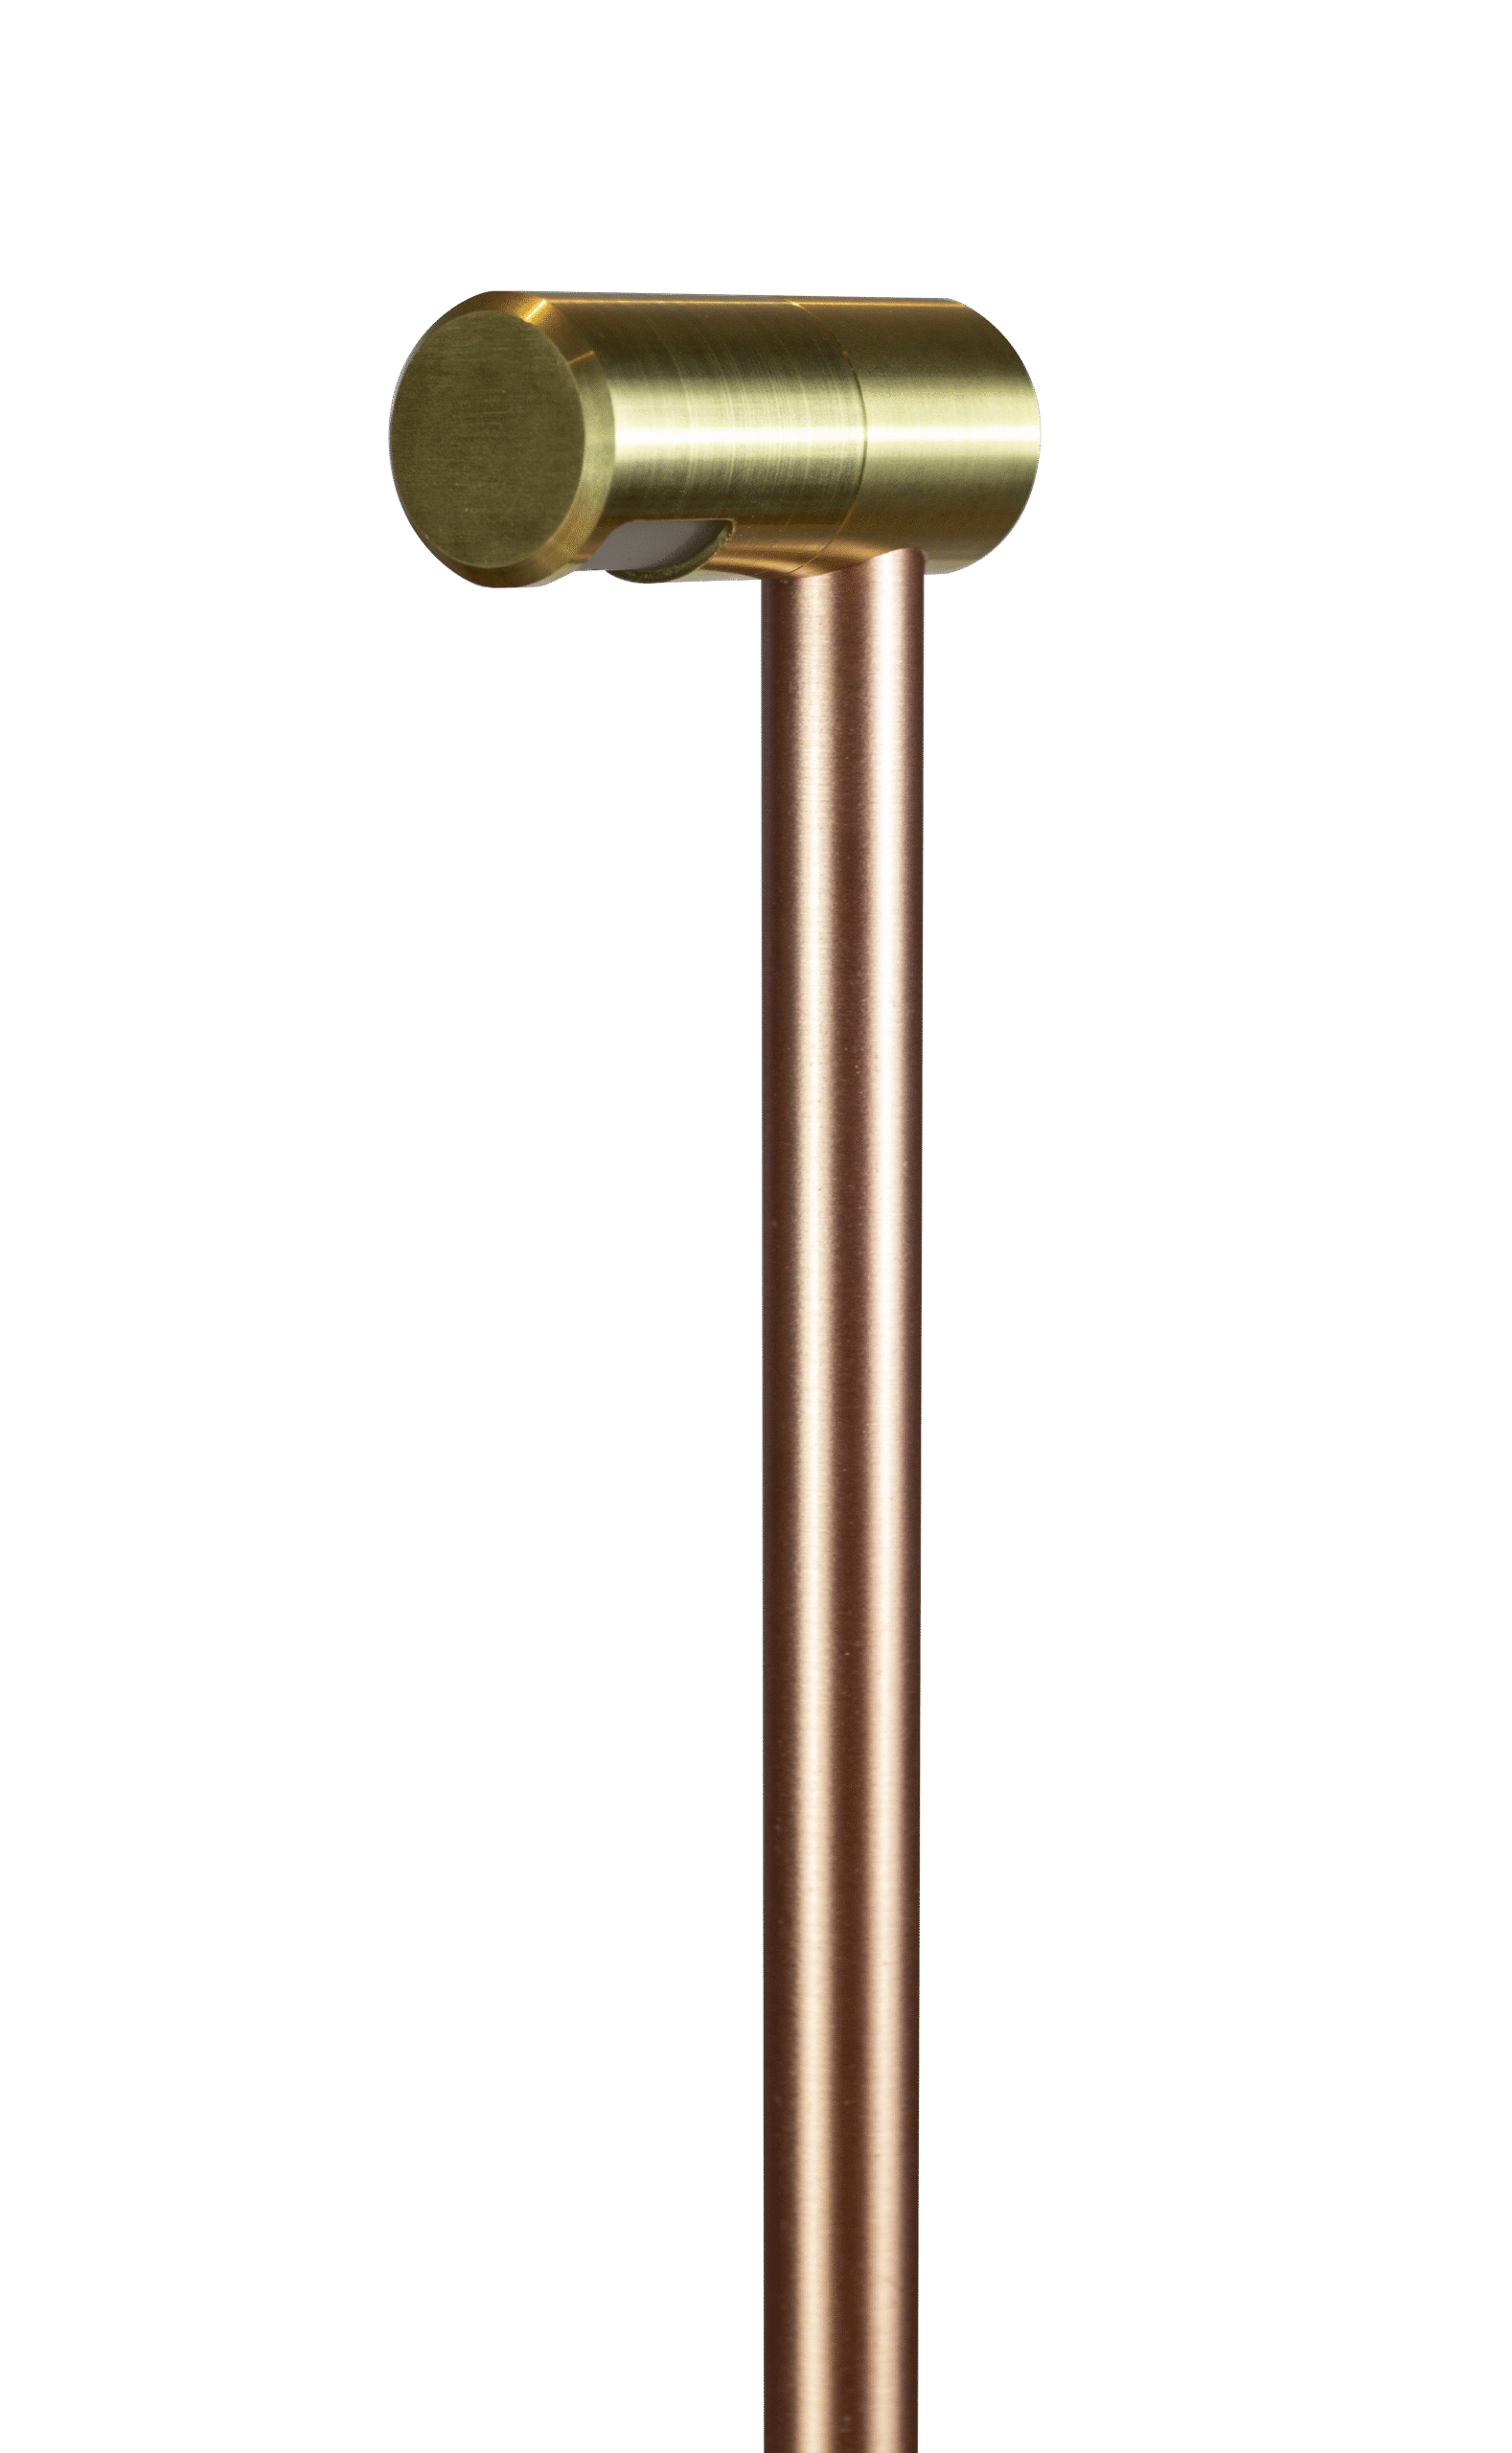
The Redwood fixture is available in the following finishes: machined copper, brass, or brass with black Cerakote®.
Machined copper and brass offer a beautiful living finish that weathers over time to a unique patina.
Brass fixtures with black Cerakote® H Series ceramic coating offer superior corrosion resistance, durability, chemical resistance, and thermal stability.
To clean the fixture, periodically wipe it down with a mild soap and water.
SOFT SOIL APPLICATIONS: INSTALLING THE GROUND STAKE & FIXTURE
Connect the power cable from the fixture body to the landscape cable.
Lay the power cable into the slotted relief on the stake.
Press the fixture and stake into the ground.
Use a level to ensure the top of the stake is level with the ground.
HARD SOIL APPLICATIONS: INSTALLING THE GROUND STAKE & FIXTURE
Unscrew the fixture body from the stake.
Dig a hole approximately 4” wide by 10” deep and gently tap the stake into the ground with a rubber mallet.
Use a level to ensure the top of the stake is level with the ground.
Reinstall the fixture body onto the stake and lay the power cable into the slotted relief on the stake.
Connect the power cable from the fixture body to the landscape cable.
INSTALLING THE LAMP
Loosen the set screw for the lens cover.
Remove the brass lens cover.
Install the G4 Wafer into the socket.
Place the lens cover back on the fixture body.
When using a Micro G4 or Beacon G4, you can adjust the window to direct light where you want it.
IMPORTANT: Replace the o-rings if necessary.
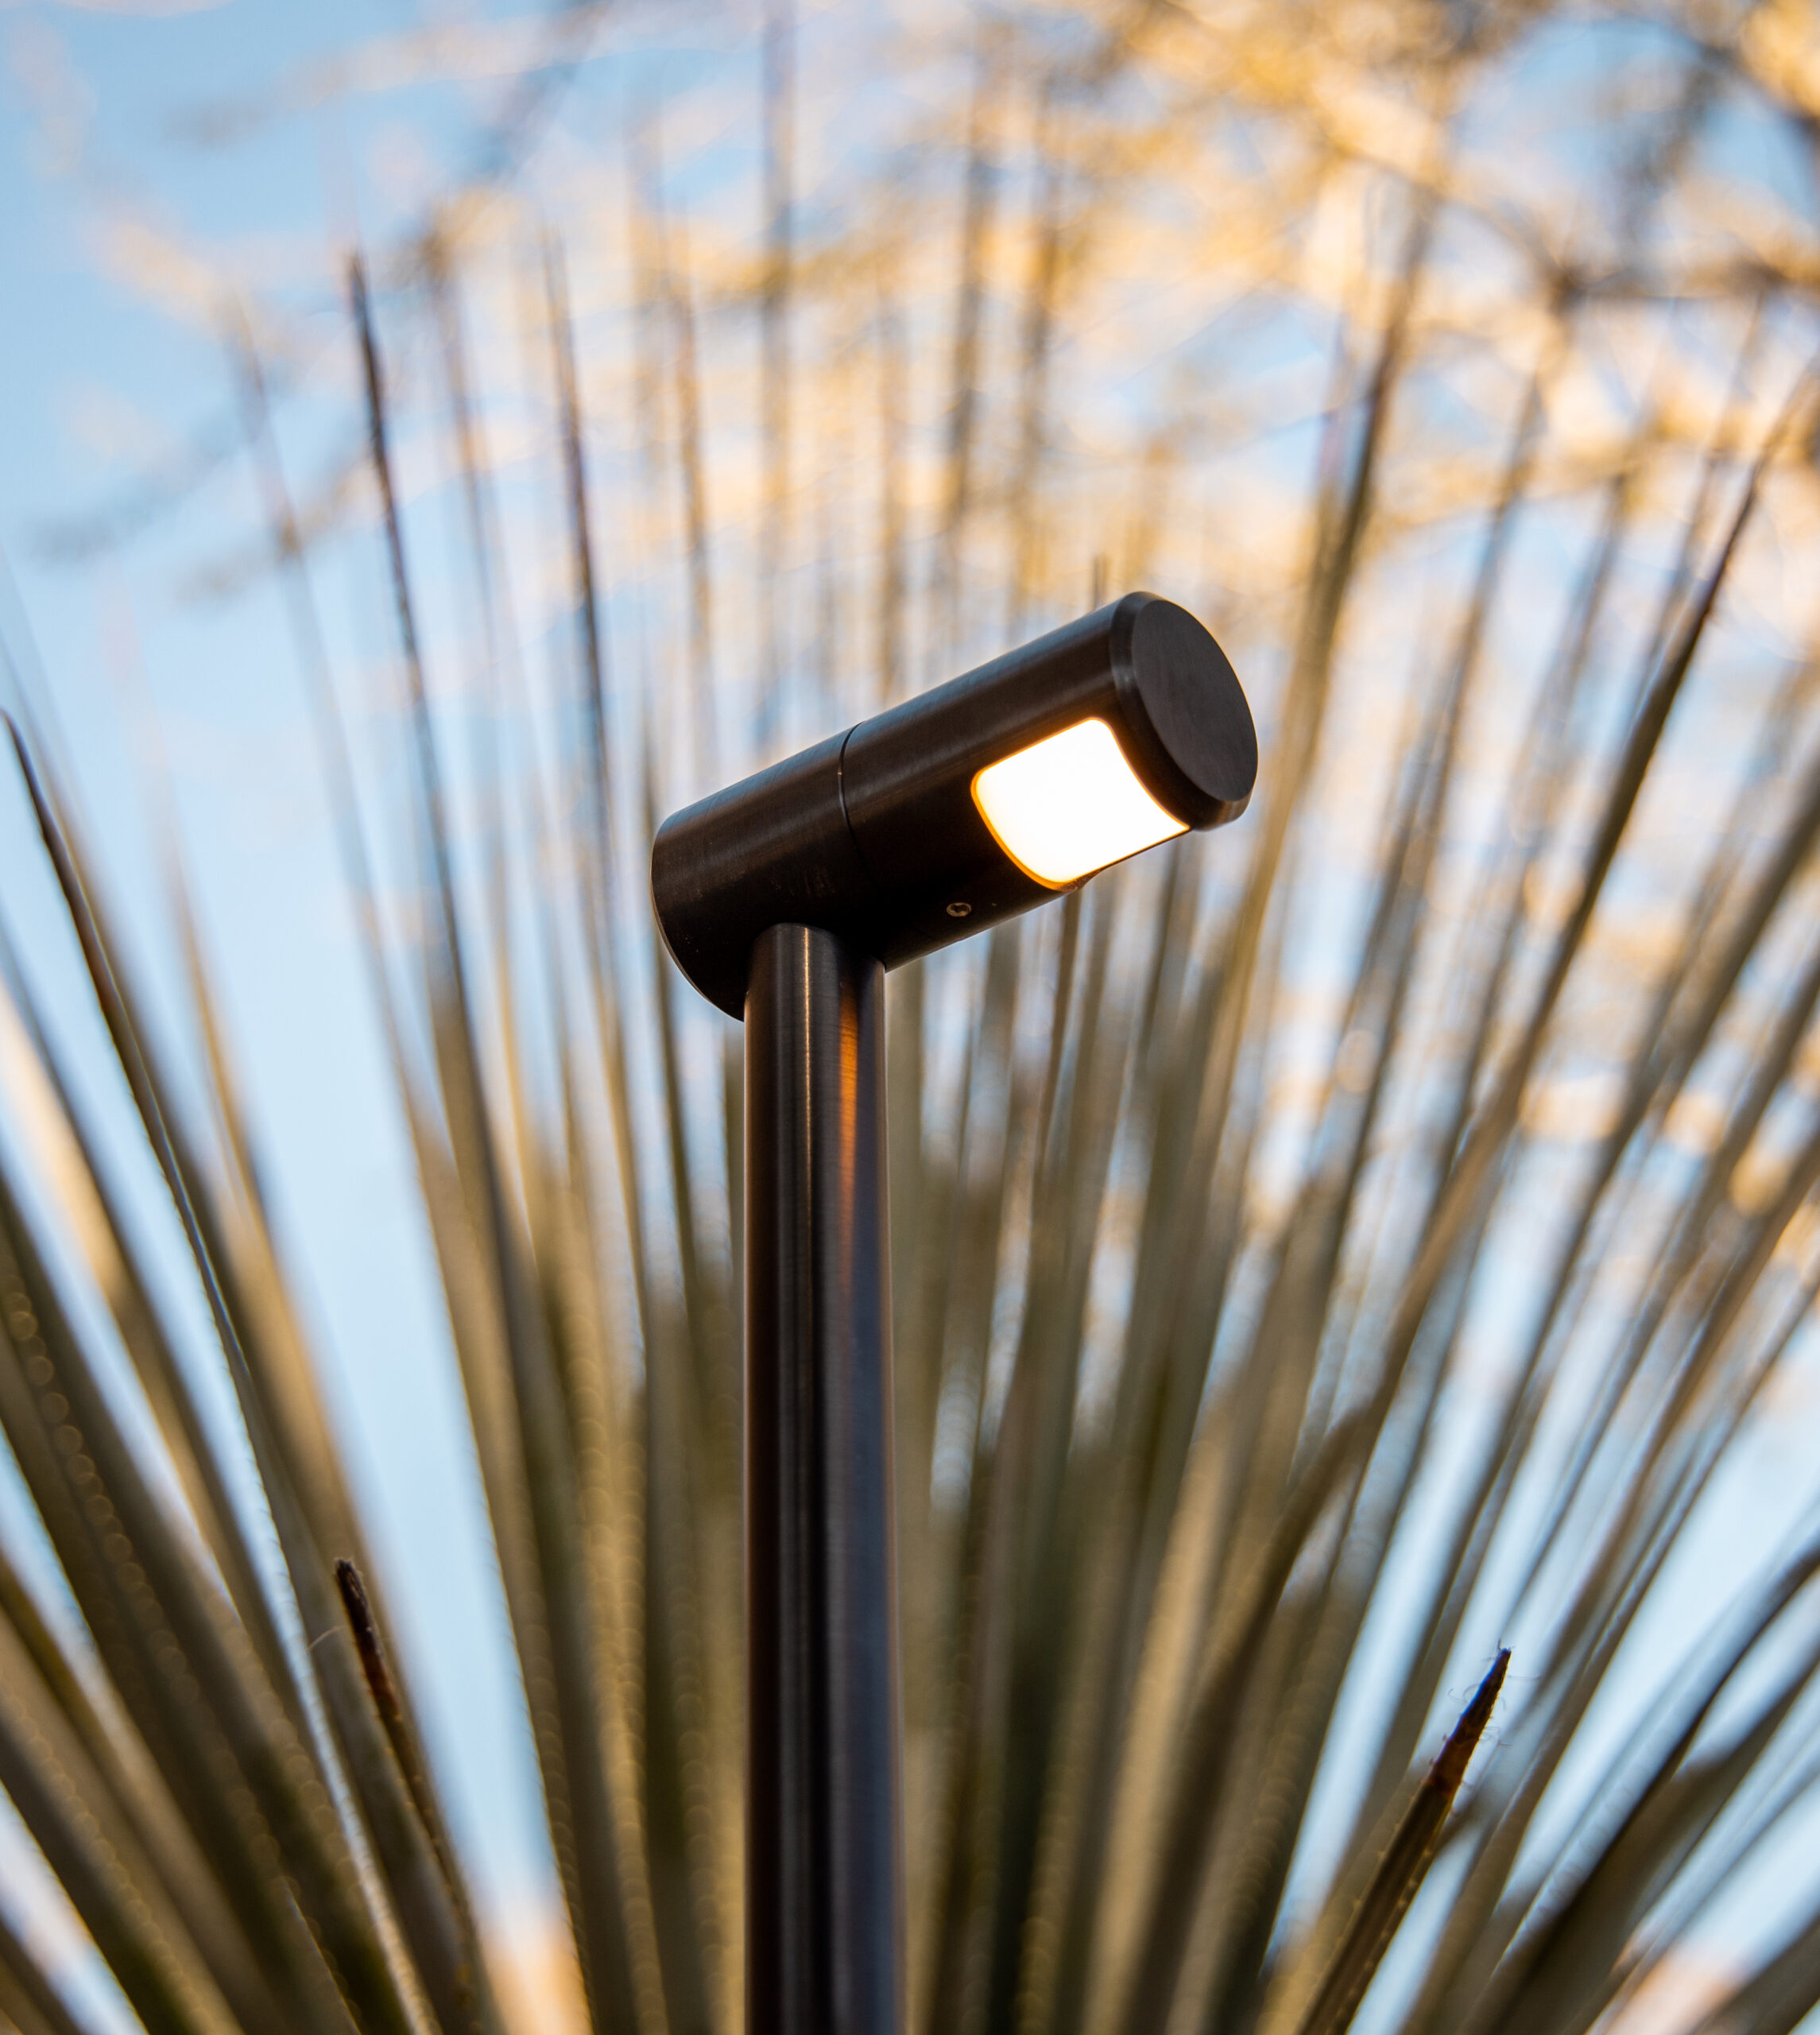
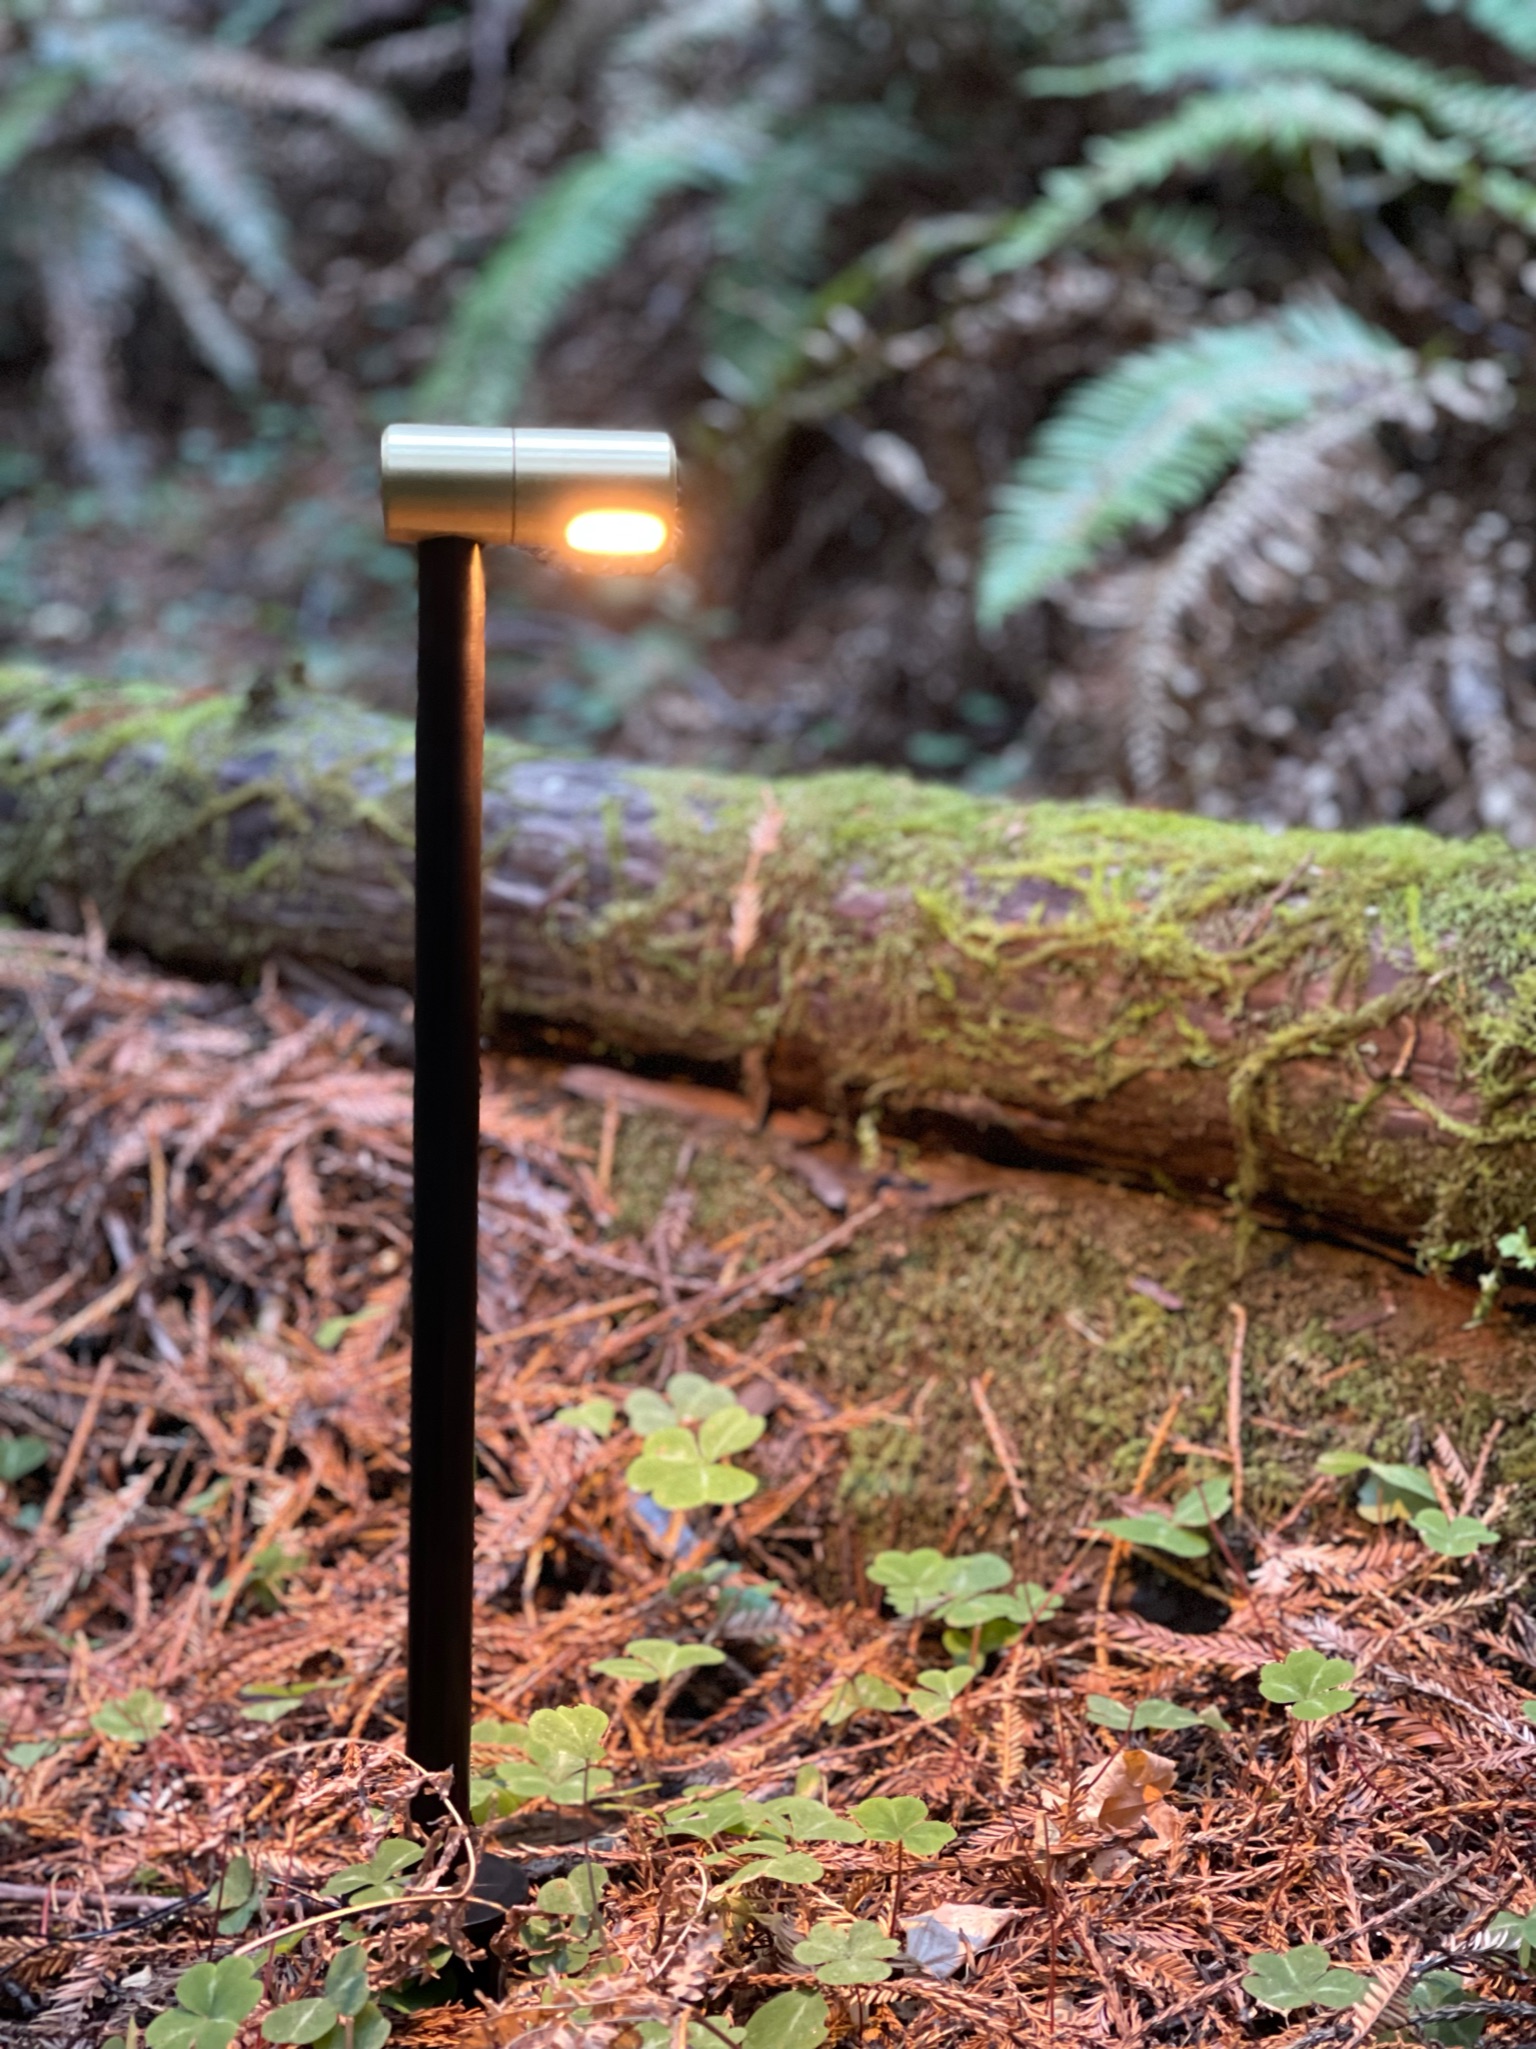
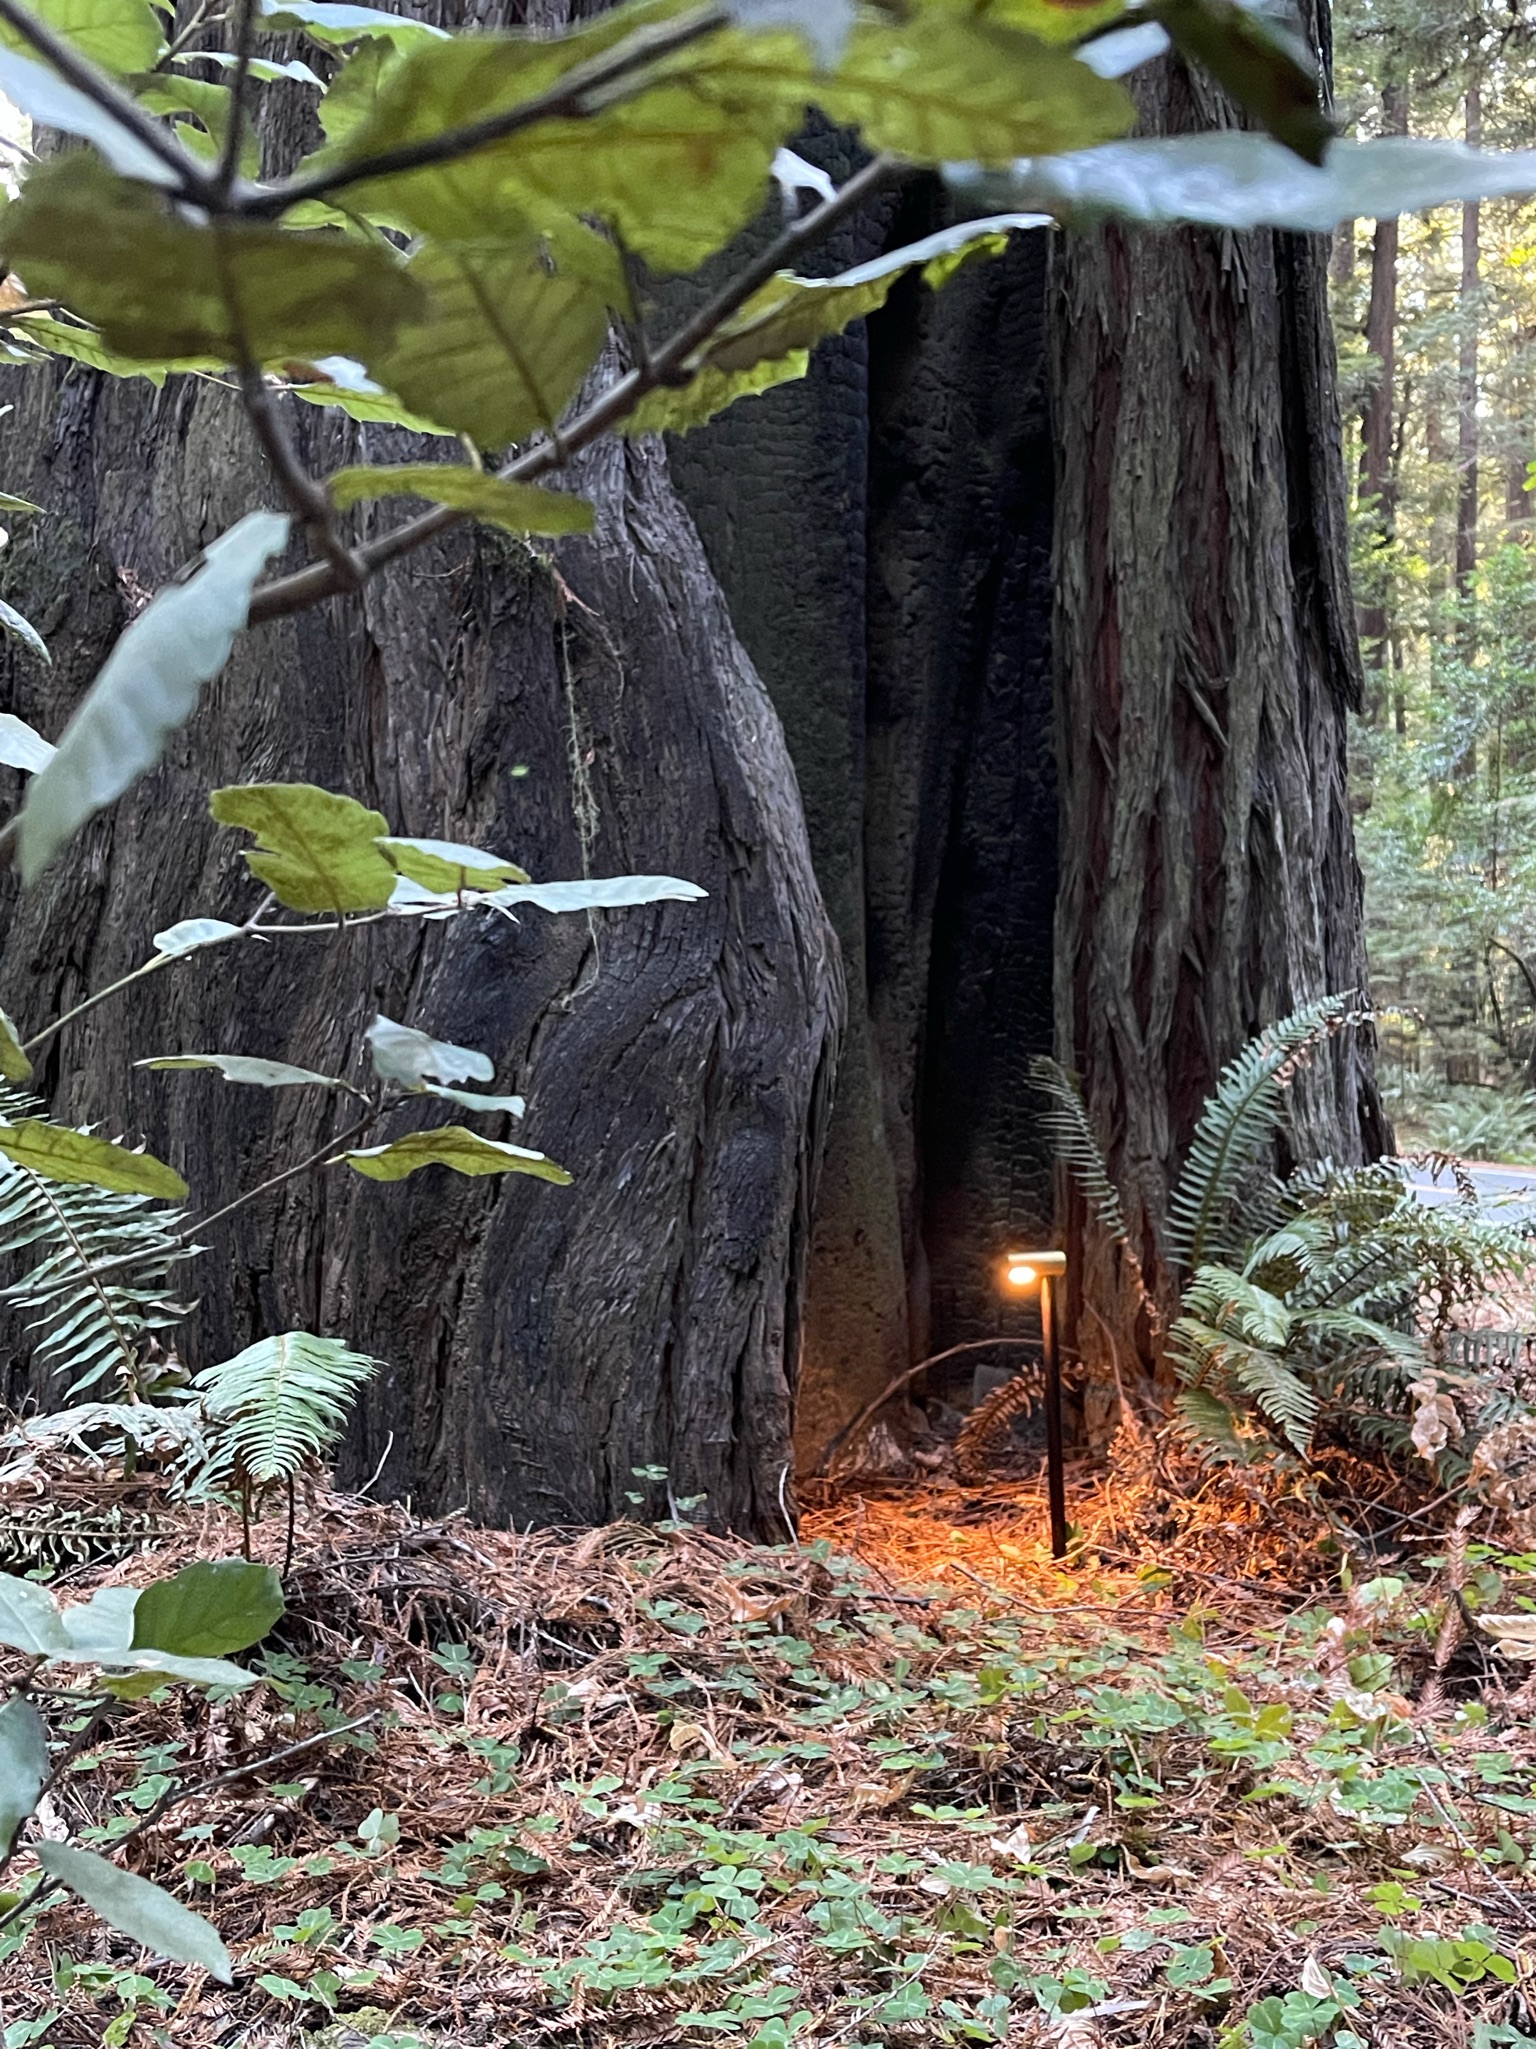
The Brilliance Metal Works Redwood Path Light.
Watch the full Brilliance Metal Works playlist of videos.

Reviews
There are no reviews yet.