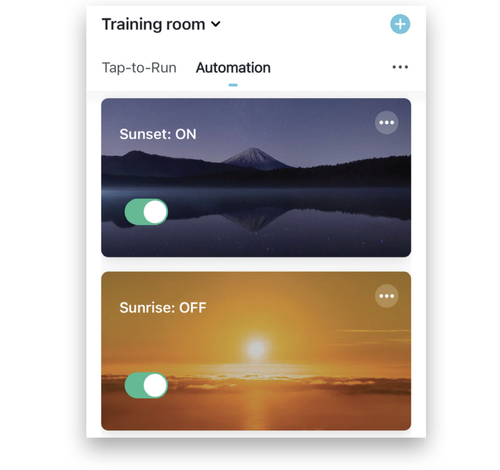
Create astronomical timing for Smart Socket 2.0. Astronomical timing allows you to turn devices on when the sun goes down, and turn them off when the sun rises. The Brilliance Smart App uses the location of the devices to determine when the sun will rise and set.
NOTE: Transformer must be on at all times for lamp automations to work
Astronomical Timer Sunrise (OFF) Set Up
1. Download Brilliance Smart from the Apple App Store or Google Play by scanning the QR code. Register for an account if you are a first time user.
2. Open the Brilliance Smart app and tap the Smart button.
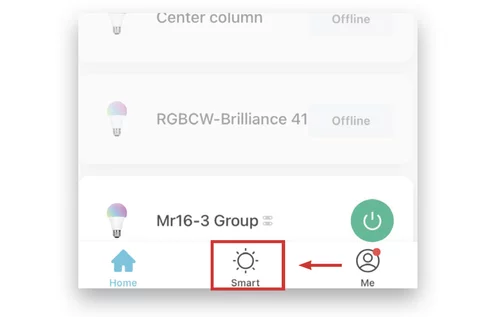
3. Select the Automation tab.

4. In the upper-right corner, tap the Add button.

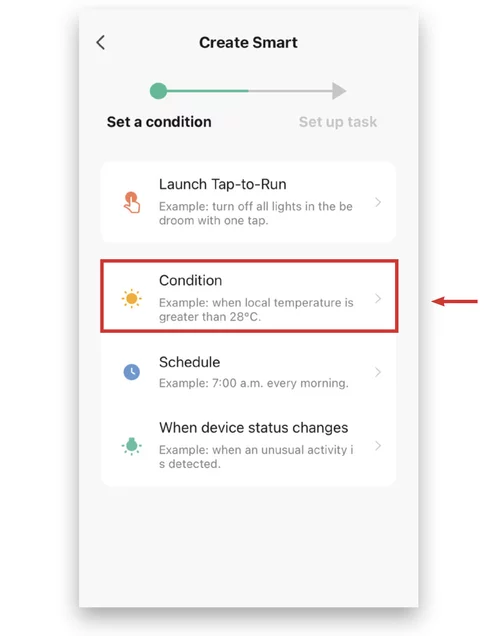
5. Tap Condition.
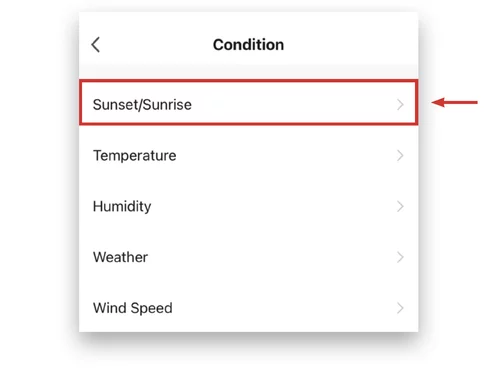
6. Select Sunset/Sunrise.
7. Tap Sunrise.
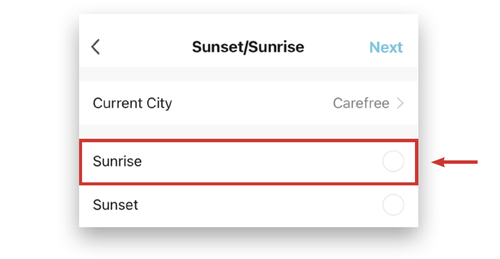
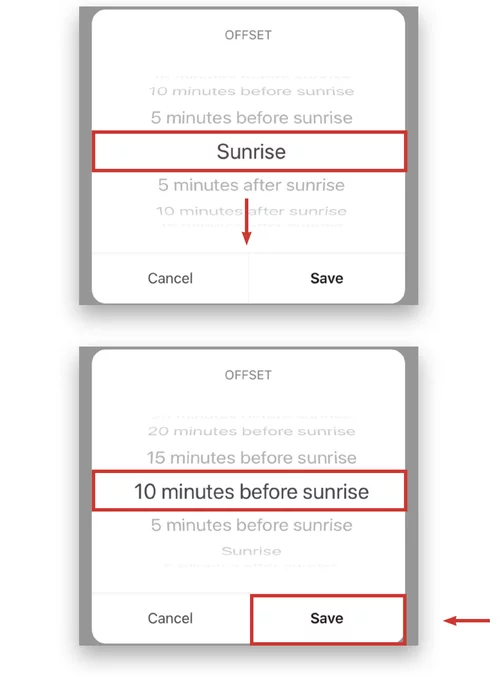
You can set the timer up to 5 hours before or after Sunrise. Example: Setting the timer to turn off devices 10 minutes before sunrise.
8. Scroll down to select 10 minutes before sunrise, and then tap Save.
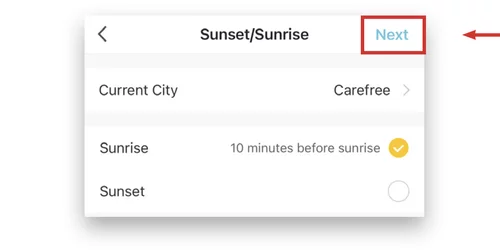
9. Tap Next.
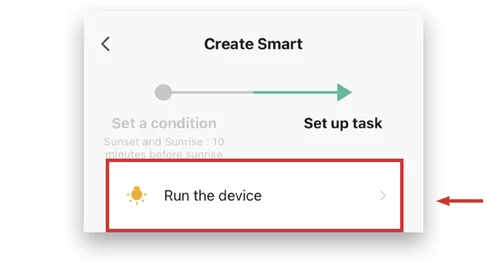
10. Select Run the device.
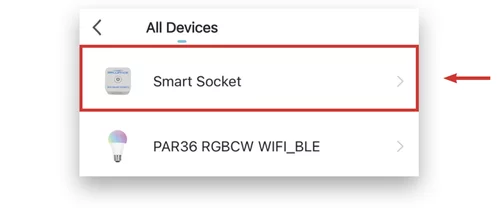
11. Select a Smart Socket 2.0 device to turn off.
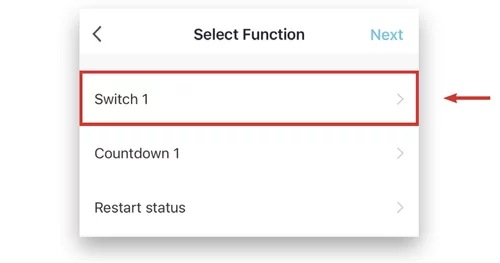
12. Tap Switch 1.
NOTE: If the device was made prior to September 2020 or if it is not fully updated to the latest firmware, then this screen may display options named Switch and Duration.
Additionally, the Countdown option will not be available.
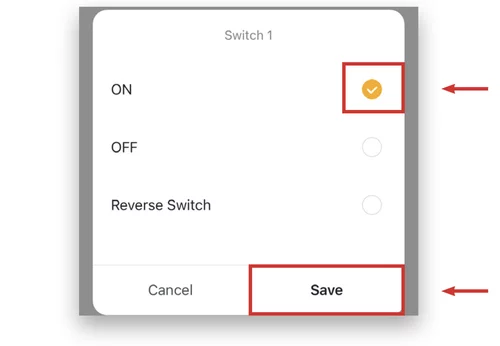
13. Tap OFF and then Save.
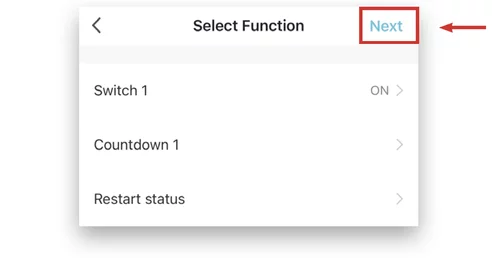
14. Tap Next.
15. Tap Name.
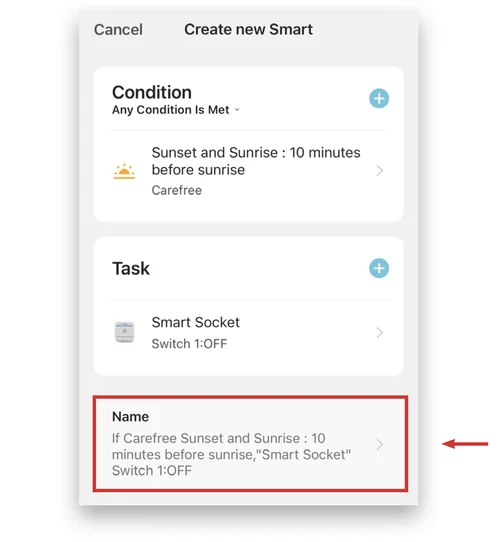
16. Name the automation and Save.
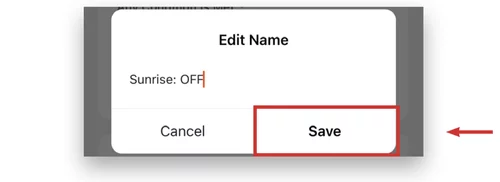
17. Tap Style.
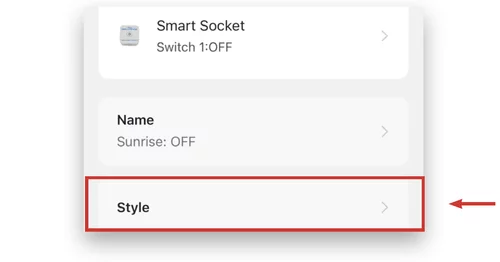
18. Select a photo from the options. To customize the photo, tap the Add button in the lower-left corner.
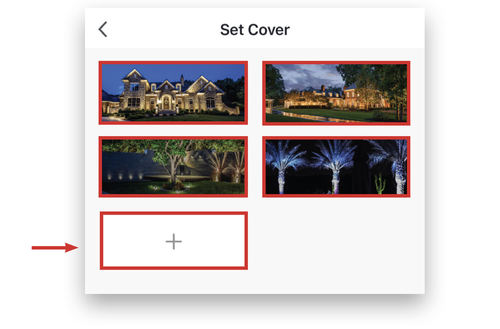
19. From the menu at the bottom of the screen, choose Take a Photo or Select from Album.

20. From the photo menu, select a cover photo.
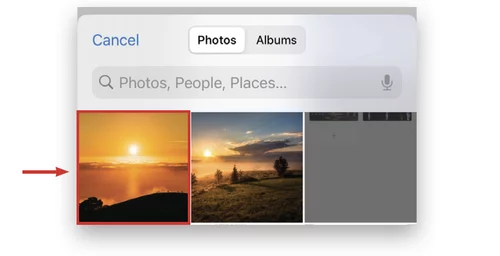
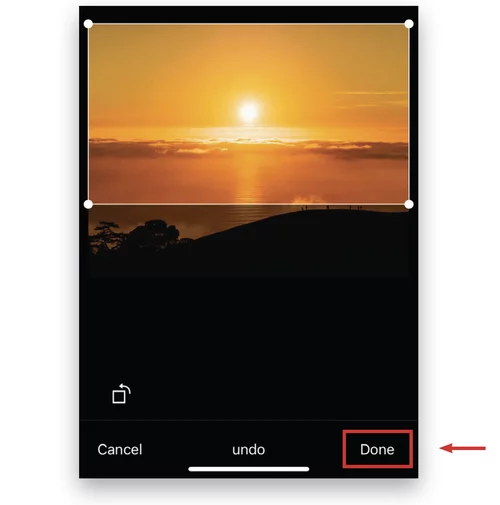
21. Move the image to fit in the bounding box, and then tap Done in the lower-right corner.
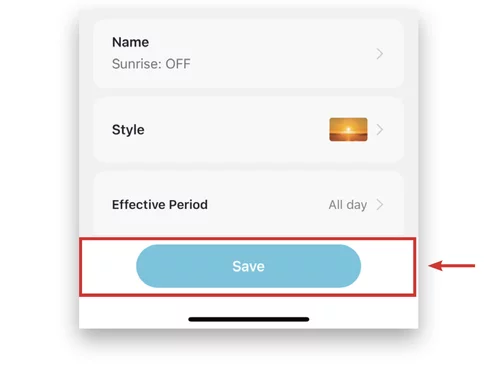
22. Tap Save at the bottom of the screen.
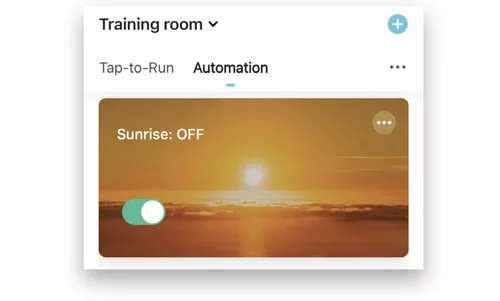
23. Tap Yes.

Example complete.
Astronomical Timer Sunset (ON) Set Up
You can set the timer up to 5 hours before or after Sunset. Example: Setting the timer to turn on devices 10 minutes before sunset.
24. Open the Brilliance Smart app and tap the Smart button.
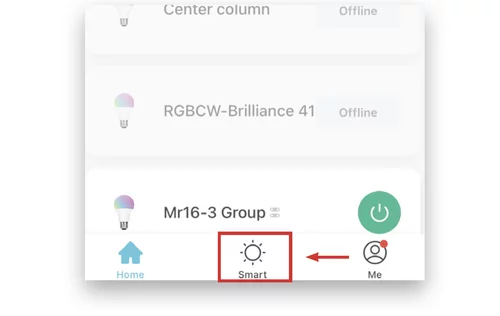
25. Select the Automation tab.

26. Tap the Add button in the upper-right corner of the screen.

27. Tap Condition.
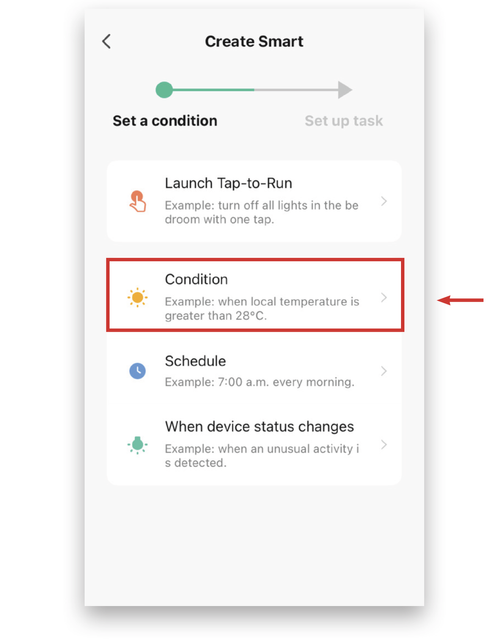
28. Select Sunset/Sunrise.
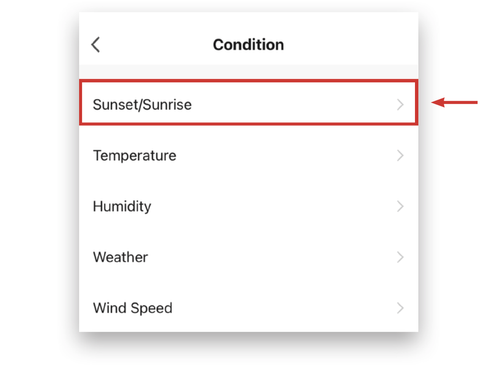
29. Tap Sunset.
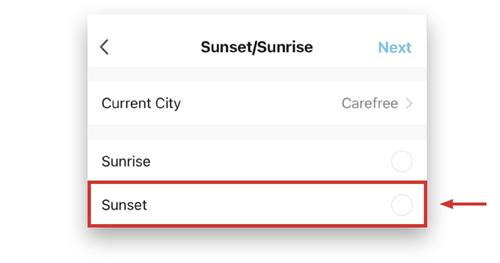
30. Tap Sunset and scroll down to select 10 minutes before sunset and click Save.
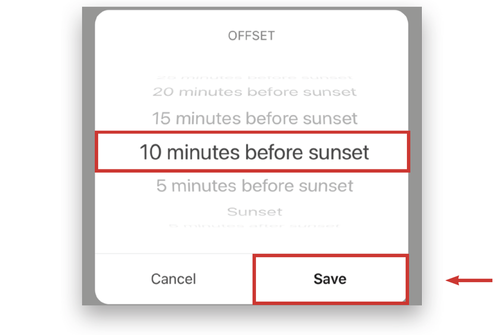
31. Tap Next.
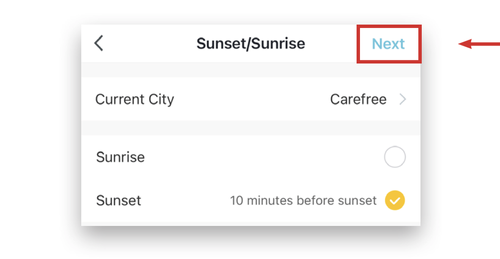
32. Select Run the device.
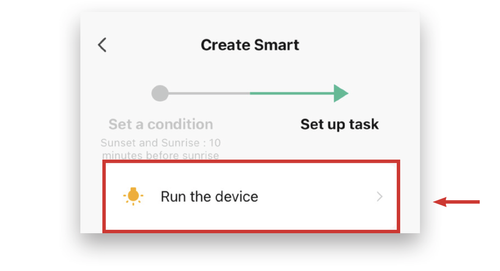
33. Select a Smart Socket 2.0 device to turn on.
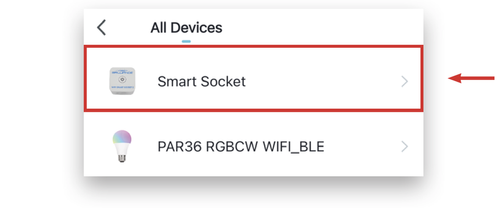
34. Tap Switch 1.
NOTE: If the device was made prior to September 2020 or if it is not fully updated to the latest firmware, then this screen may display options named Switch and Duration.
Additionally, the Countdown option will not be available.
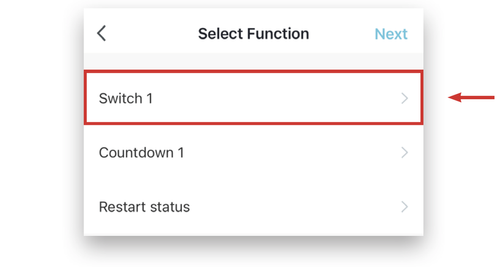
35. Tap ON and then Save.
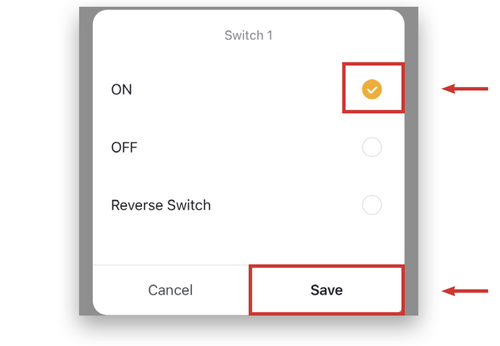
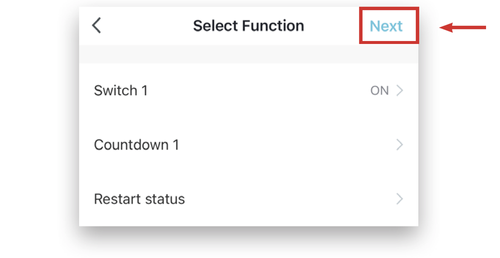
36. Tap Next.
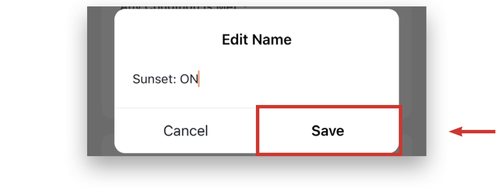
37. Tap Name.
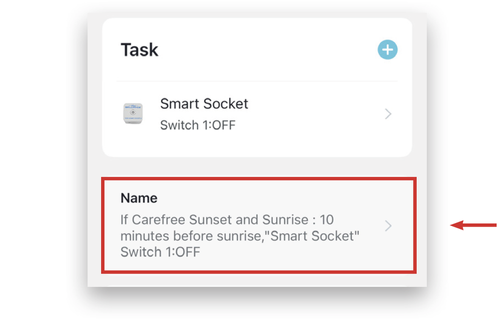
38. Name the automation and Save.
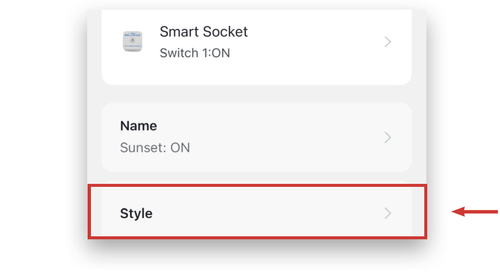
39. Tap Style.
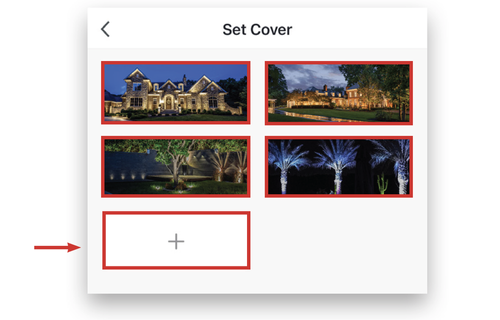
40. Select a photo from the options. To customize the photo, tap the Add button in the lower-left corner.
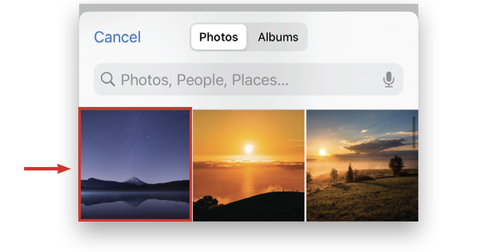
41. From the menu at the bottom of the screen, choose Take a Photo or Select from Album.

42. From the photo menu, select a cover photo.
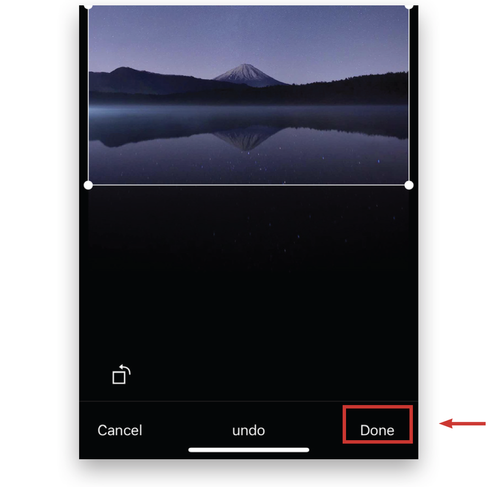
43. Move the image to fit in the bounding box, and then tap Done in the lower-right corner.
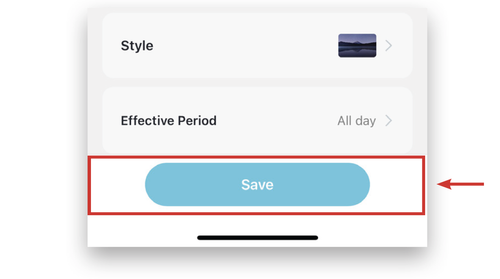
44. Tap Save at the bottom of the screen.
45. Tap Yes.

Example Complete. Automations ready for use.
