
Quick Mode: Set Up Multiple Devices
Use this method to set up multiple Smart Socket 3.0 devices at the same time on the Brilliance Smart app with a 2.4GHz Wi-Fi network. Download these instructions in a PDF.
Technical Requirements
Must have consistent 2.4 GHz Wi-Fi signal at the installation location with dBm strength of -70 or better.
Note: if you are looking for the instructions for the legacy version of this product, Smart Socket 2.0, click here and scroll to the Quick Mode section.
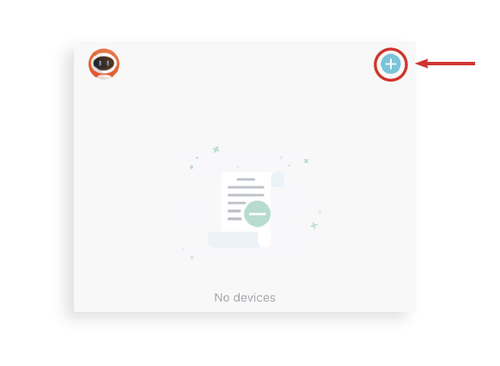
1. Download/open the Brilliance Smart app. On the home screen, tap the Add button at the upper-right corner.

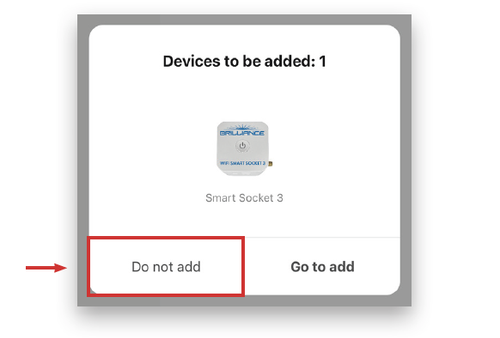
2. The Add Manually tab is displayed and the Bluetooth begins looking for a new device. If the device(s) populate, tap Do Not Add.
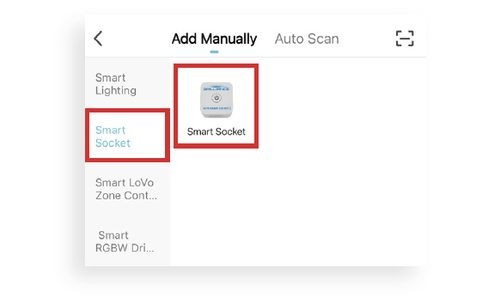
3. On the Add Manually screen, tap Smart Socket on the left menu and then tap Smart Socket in the main window.
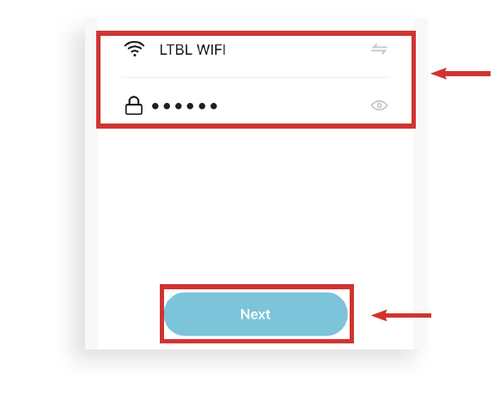
4. Enter your 2.4 GHz Wi-Fi network name and password, and then tap Next.
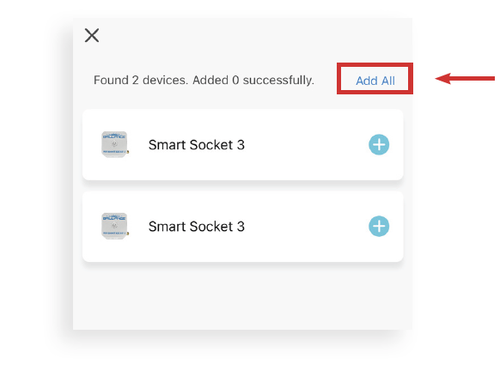
5. Once all devices populate, tap Add All in the upper-right corner.
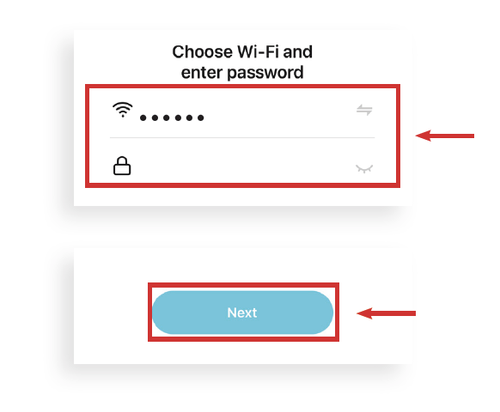
6. Re-enter your 2.4 GHz Wi-Fi network name and password, and then tap Next.
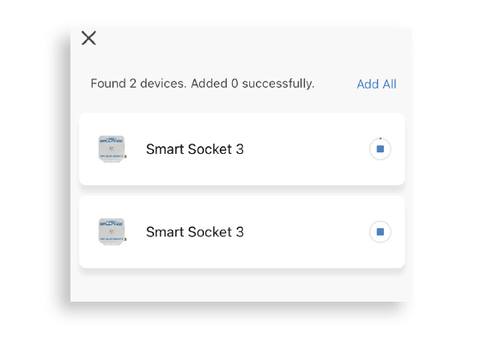
7. The Smart Socket 3 devices will automatically start connecting to the app.
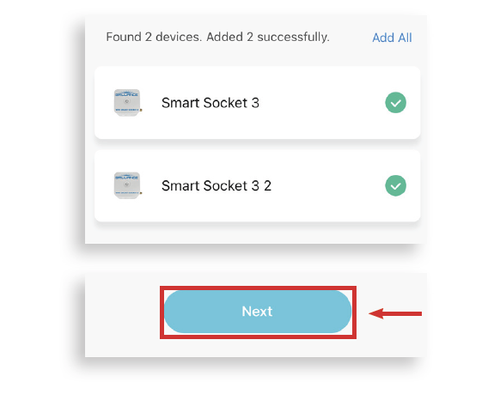
8. When all devices are connected, tap the Next button at the bottom of the screen.
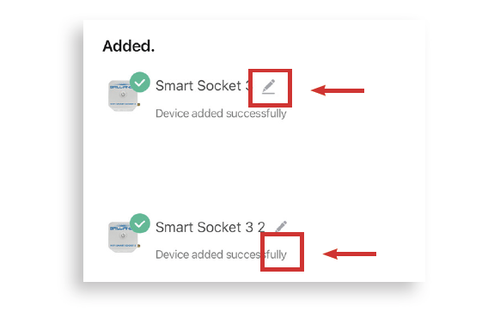
9. When the devices are connected, the Added screen is displayed. Tap the Pencil icon to rename each device.
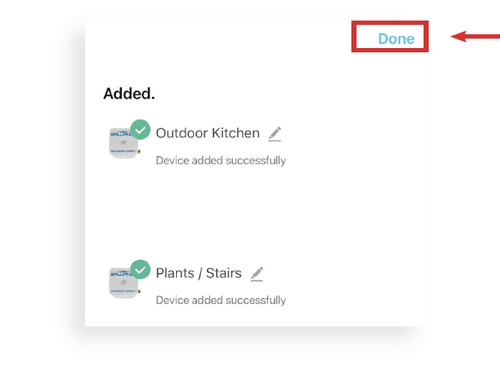
10. Once all devices are named, tap Done in the upper-right corner.
NOTE: If Quick Mode Set Up for Multiple Devices does not connect, use the AP Mode Set Up instructions to connect them individually.
