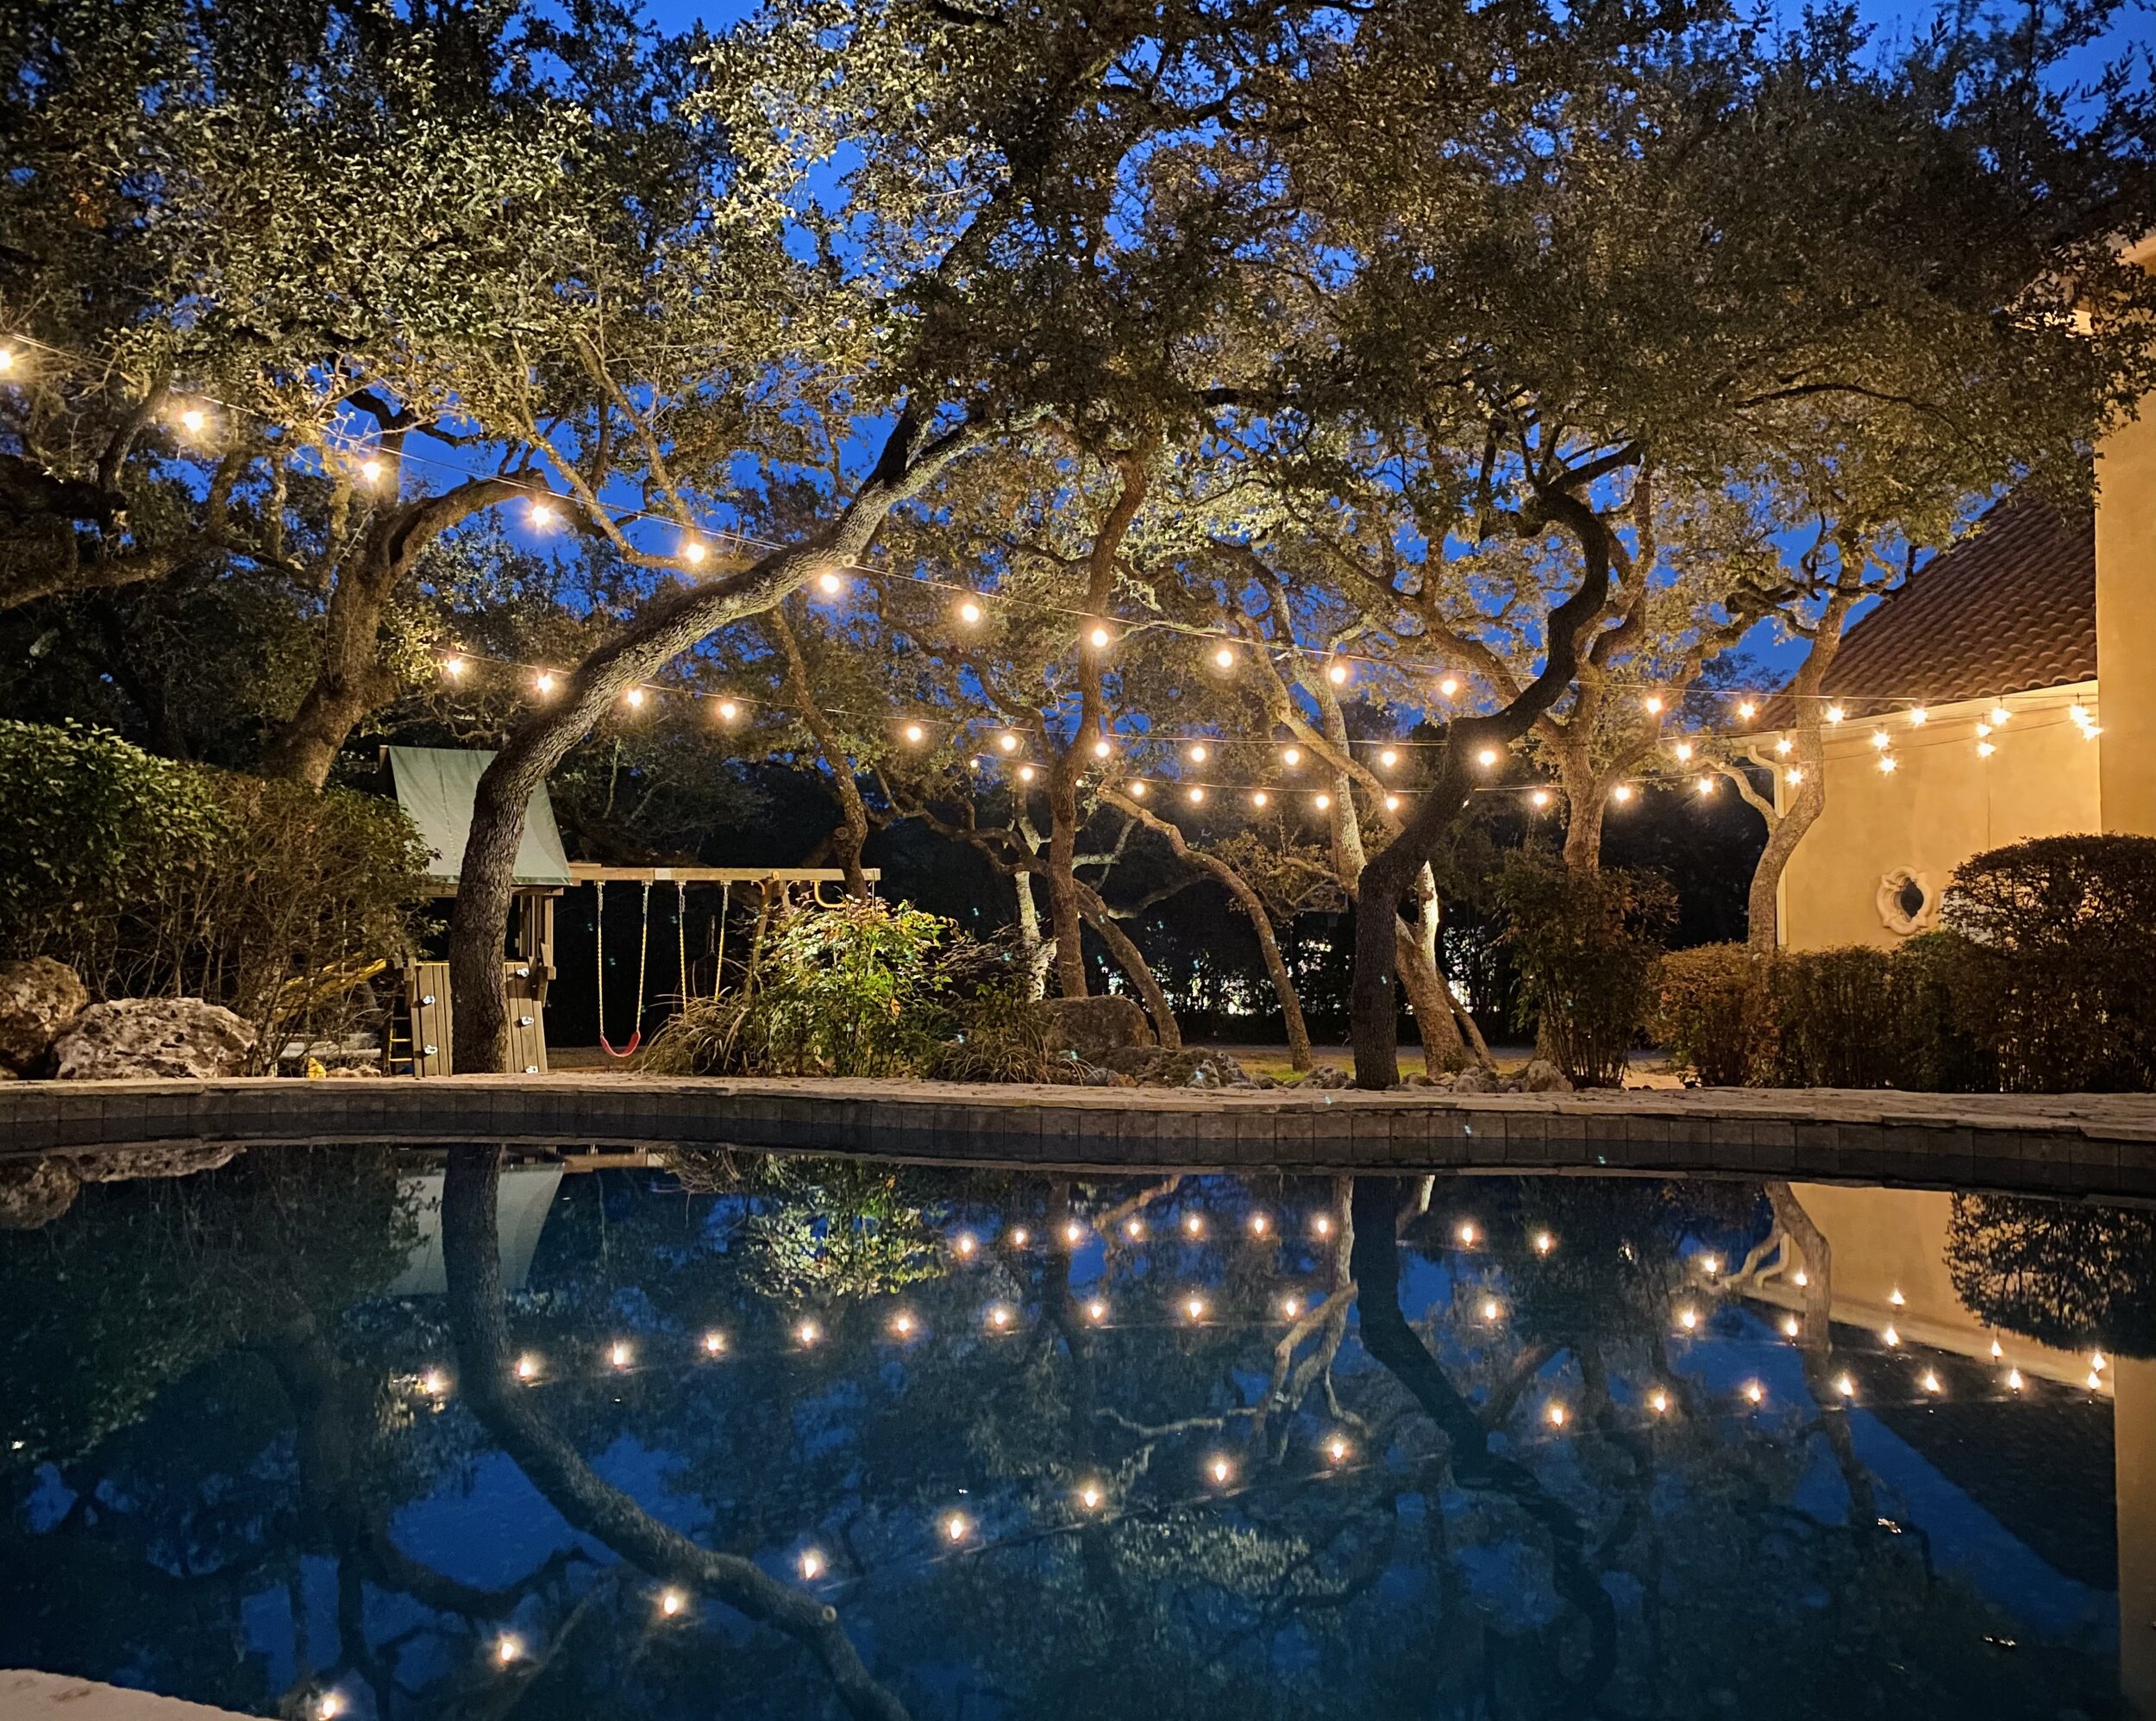
LOW VOLTAGE BISTRO STRING LIGHT REEL
The Brilliance Low Voltage Bistro String Reel comes in a 328 ft. spool (100m) and can be cut to length at the distributorship per the buyer’s requirements. Use this low voltage bistro string with the corresponding low voltage string connection accessories for custom length bistro lighting.
This string is for use with low voltage lamps only. 1/8” mounting cable and turnbuckles are not included. Accessories and lamps are sold separately. See Brilliance S14 Edge Filament for low voltage lamp options.
FEATURES:
-
Patented design (U.S. Patent D898986S)
-
String features a waterproof seal
-
Two-way mounting holes at each lamp position eliminate the need for zip ties and creates a more secure installation for the life of the string lights
| LOW VOLTAGE BISTRO STRING LIGHT REEL | |
|---|---|
| Operating Range | 12 VAC |
| Total Length | 328 feet reel (100 meters) Can be cut to length |
| String Lead Length | At least 10 inches of lead required for connections |
| Distance Between Lamp Positions | 24 inches between lamps |
| Includes | Low Voltage Bistro String |
| Connection Accessories Available | Straight Connector: 1 per cable conversion T Connector: 1 per center feed End Cap: 1 per string end |
| Warranty (years) | 2 |
| S14 Lamp Requirements | |||
|---|---|---|---|
| Lamp | 1W, 10-12 VAC | 2.5W, 10-12 VAC | 3.5, 10-12 VAC |
| Maximum Wattage | 72 | 48 | 47.16 with VA |
| Maximum String Length | 120 ft end-to end | 96 ft end to end | 24 ft end-to-end |
STRAIGHT CONNECTOR
The Low Voltage Bistro String Straight Connector is an accessory needed to customize the length of the Low Voltage Bistro String Reel only.
Use with Brilliance Low Voltage Bistro String to convert low voltage landscape lighting cable to SO cable.
Order one Low Voltage Bistro String Straight Connector for each instance in which you have to convert low voltage landscape lighting cable to SO cable.
INSTALLING THE BISTRO STRING STRAIGHT CONNECTOR TO THE LANDSCAPE CABLE SIDE
-
Unscrew the plastic nut from the straight connector.
-
Using some needle nose pliers, gently remove the two-hole rub grommet from the throat coupler.
-
Unscrew the throat coupler from the center coupler.
-
Using a Philips screwdriver, unscrew the two cable terminals on either side from each other. The middle terminal is not used for two conductor landscape cable.
-
Strip the landscape cable approximately 1/2 inch.
-
Pass the landscape cable through the nut rounded side first.
-
Splitting the cable apart, insert each conductor through the holes of the two-hole rubber grommet.
-
Pass the landscape cable through the large side of the throat coupler with the fin side first.
-
Insert one side of the split cable into the open cable terminals and tighten the terminal screw. Repeat this step for the other side of the split cable.
-
Once both conductors have been attached, thread the throat coupler to the center coupler terminal side and screw together to tighten.
-
Position the two-hole rubber grommet into the fin side of the throat coupler.
-
Thread the compression nut back on to the fin side of the throat coupler.
-
Hand tighten until the landscape cable has been compressed. Do not overtighten.
INSTALLING THE BISTRO STRING STRAIGHT CONNECTOR TO THE SO CABLE SIDE
-
Unscrew the plastic nut from the SO Cable side of the connection.
-
Unscrew the throat coupler from the center coupler.
-
Using a Philips screwdriver, unscrew the two cable terminals on either side from each other. The middle terminal is not used for two conductor SO cable.
-
Strip the SO cable to reveal the black and white conductors, approximately 1-1/2 inches.
-
Pass the plastic compression nut over the SO cable rounded side first.
-
Insert the SO cable through the hole of the rubber grommet.
-
Strip the black and white SO conductor cable approximately 1/2 inch.
-
Insert the black and white conductors into the opened terminals. Tighten both terminal screws.
-
Once both conductors have been attached, thread the throat coupler to the center coupler terminal side and screw together to tighten.
-
Thread the compression nut back on to the fin side of the throat coupler.
-
Hand tighten until the SO cable has been compressed. Do not overtighten.
T CONNECTOR
The Low Voltage Bistro String T Connector is an accessory to customize the length of the Low Voltage Bistro String Reel only.
Use with Brilliance Low Voltage Bistro String for wherever you have an end of SO cord.
Order one Low Voltage Bistro String T Connector for each center feed used.
INSTALLING THE BISTRO STRING T CONNECTOR
-
Unscrew the plastic nut from the SO Cable side of the connection.
-
Unscrew the throat coupler from the center coupler.
-
Using a Philips screwdriver, unscrew the two cable terminals on either side from each other. The middle terminal is not used for two conductor SO cable.
-
Strip the SO cable to reveal the black and white conductors, approximately 1-1/2 inches.
-
Pass the plastic compression nut over the SO cable rounded side first.
-
Insert the SO cable through the hole of the rubber grommet.
-
Strip the SO conductor cable, approximately 1/2 inch.
-
Insert the black and white conductors as directed below:
The black cable goes in the terminal with L marked near the rounded edge.
The white cable goes in the terminal with N marked near the rounded edge
Nothing goes into the third terminal. -
Tighten both terminal screws.
-
Once both conductors are attached, thread the throat coupler to the center terminal side screw together to tighten.
-
Thread the compression nut back on to the grommet side.
-
Hand tighten until the SO cable has been compressed. Do not overtighten.
-
Repeat these instructions for each side of the T connection.
END CAP
The Low Voltage Bistro String End Cap is an accessory to customize the length of the Low Voltage Bistro String Reel only.
Use with Brilliance Low Voltage Bistro String for wherever you have an end of SO cord.
Order one Low Voltage Bistro String End cap for each string end.
INSTALLING THE BISTRO STRING END CAP
-
Examine the end of the SO cable.
-
Be certain that none of the conductors or strands of cable are touching each other.
-
Apply a small amount of silicone to the end of the SO cable.
-
Slide the end cap over the SO cable jacket to secure it. Refer to the silicon manufacturer’s information for recommended cure time.